
 |
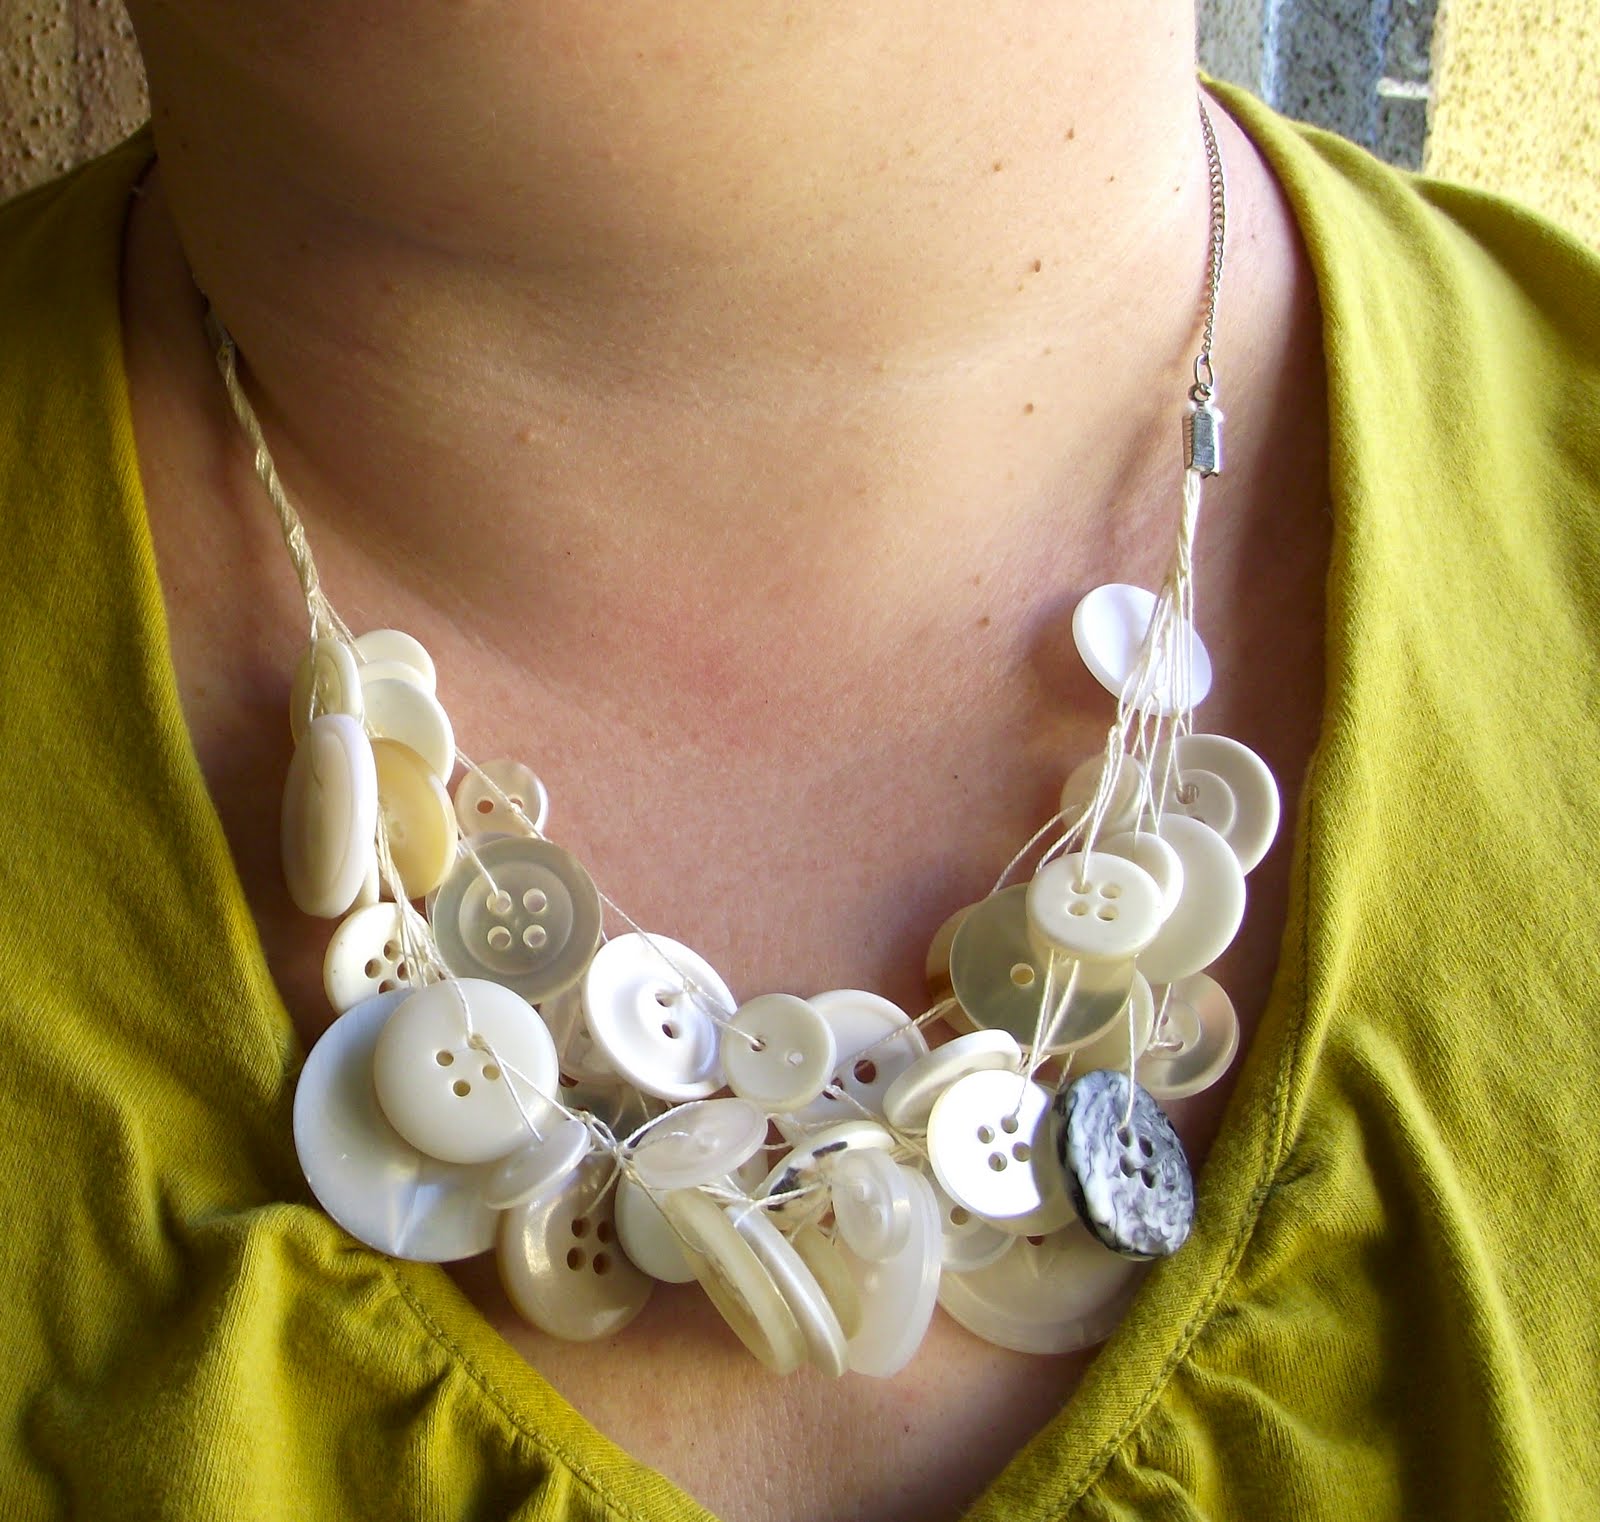
| My new button necklace. |
 |
| The bunch of buttons I picked to make my necklace. I went with a variety of sizes and textures. |
Turns out, the necklace was nothing more than a bunch of buttons, some knotted perle cotton, a couple of cord crimps, some chain, a few jump rings, and a clasp. This was going to be a piece of cake. And what great use of some of the million or so buttons I’ve hoarded over the years.

Supplies needed:
buttons
#12 perle cotton
cord crimps
chain
jump rings
clasp
jeweler’s pliers
safety pin
crewel needle (optional)
Instructions:
Step 1: Cut six lengths of perle cotton 36 inches each. Loop over safety pin at half way point and tie a knot to secure in place. I pinned this to a pillow that was small enough to hold in my lap (and that was covered in cat and dog fur, as you can see in the photos!).

Step 2: Take two lengths of perle cotton and tie a square knot about 3 inches from the safety pin. String one of your buttons onto one of the lengths of perle cotton (use needle if necessary), tie another square knot about an inch down from the first square knot.

Step 3: Working on the same lengths of perle cotton, string another button onto one of the lengths of perle cotton, tie a square knot about an inch down from the last square knot. Continue in this manner until you have three inches of perle cotton left.

Step 4: Starting back at the beginning, select two more lengths of perle cotton and follow steps 2 and 3. Repeat until all lengths of perle cotton have been used. You should have 6 strands of buttons.

Step 5: Add a crimp to either end of your button strands. Include all lengths of perle cotton in the crimp. Make sure to squeeze tightly with the pliers to catch all the perle cotton.

Step 6: Using jump rings and chain, add enough chain to crimps to reach the desired length of your necklace. You should use equal amounts of chain on both sides.

Step 7: Finish by adding the clasp to the ends of the chains.


I'm linking to Get your Craft Tuesday at Today's Creative Blog
Pin It
6 comments:
So cute! What a great way to use up the button stash . . . don't we all have a huge jar filled with random buttons?! This necklace is adorable!
Rachel @ Maybe Matilda
Thanks, Rachel! With all the buttons I have collected, I could make about 500 of these necklaces.
That is pretty cool!! :) I love buttons.
I am a new follower.
Cheers!
Jen
www.cariboobutterfly.com
I'm back again! I thought this necklace was so neat, so I featured it on my blog today! You can see it here: http://www.maybematilda.com/2011/05/five-favorites-521.html
Thanks for sharing such a cool idea!
Rachel @ Maybe Matilda
This is such a cute and easy project. Just wanted to let you know that we featured it this morning on our DailyCraft Facebook page with over 6,500 fans. We'd love it if you could link to us or let your fans know but we're excited for how our fans react to this!
Awesome! On my to do list
Post a Comment