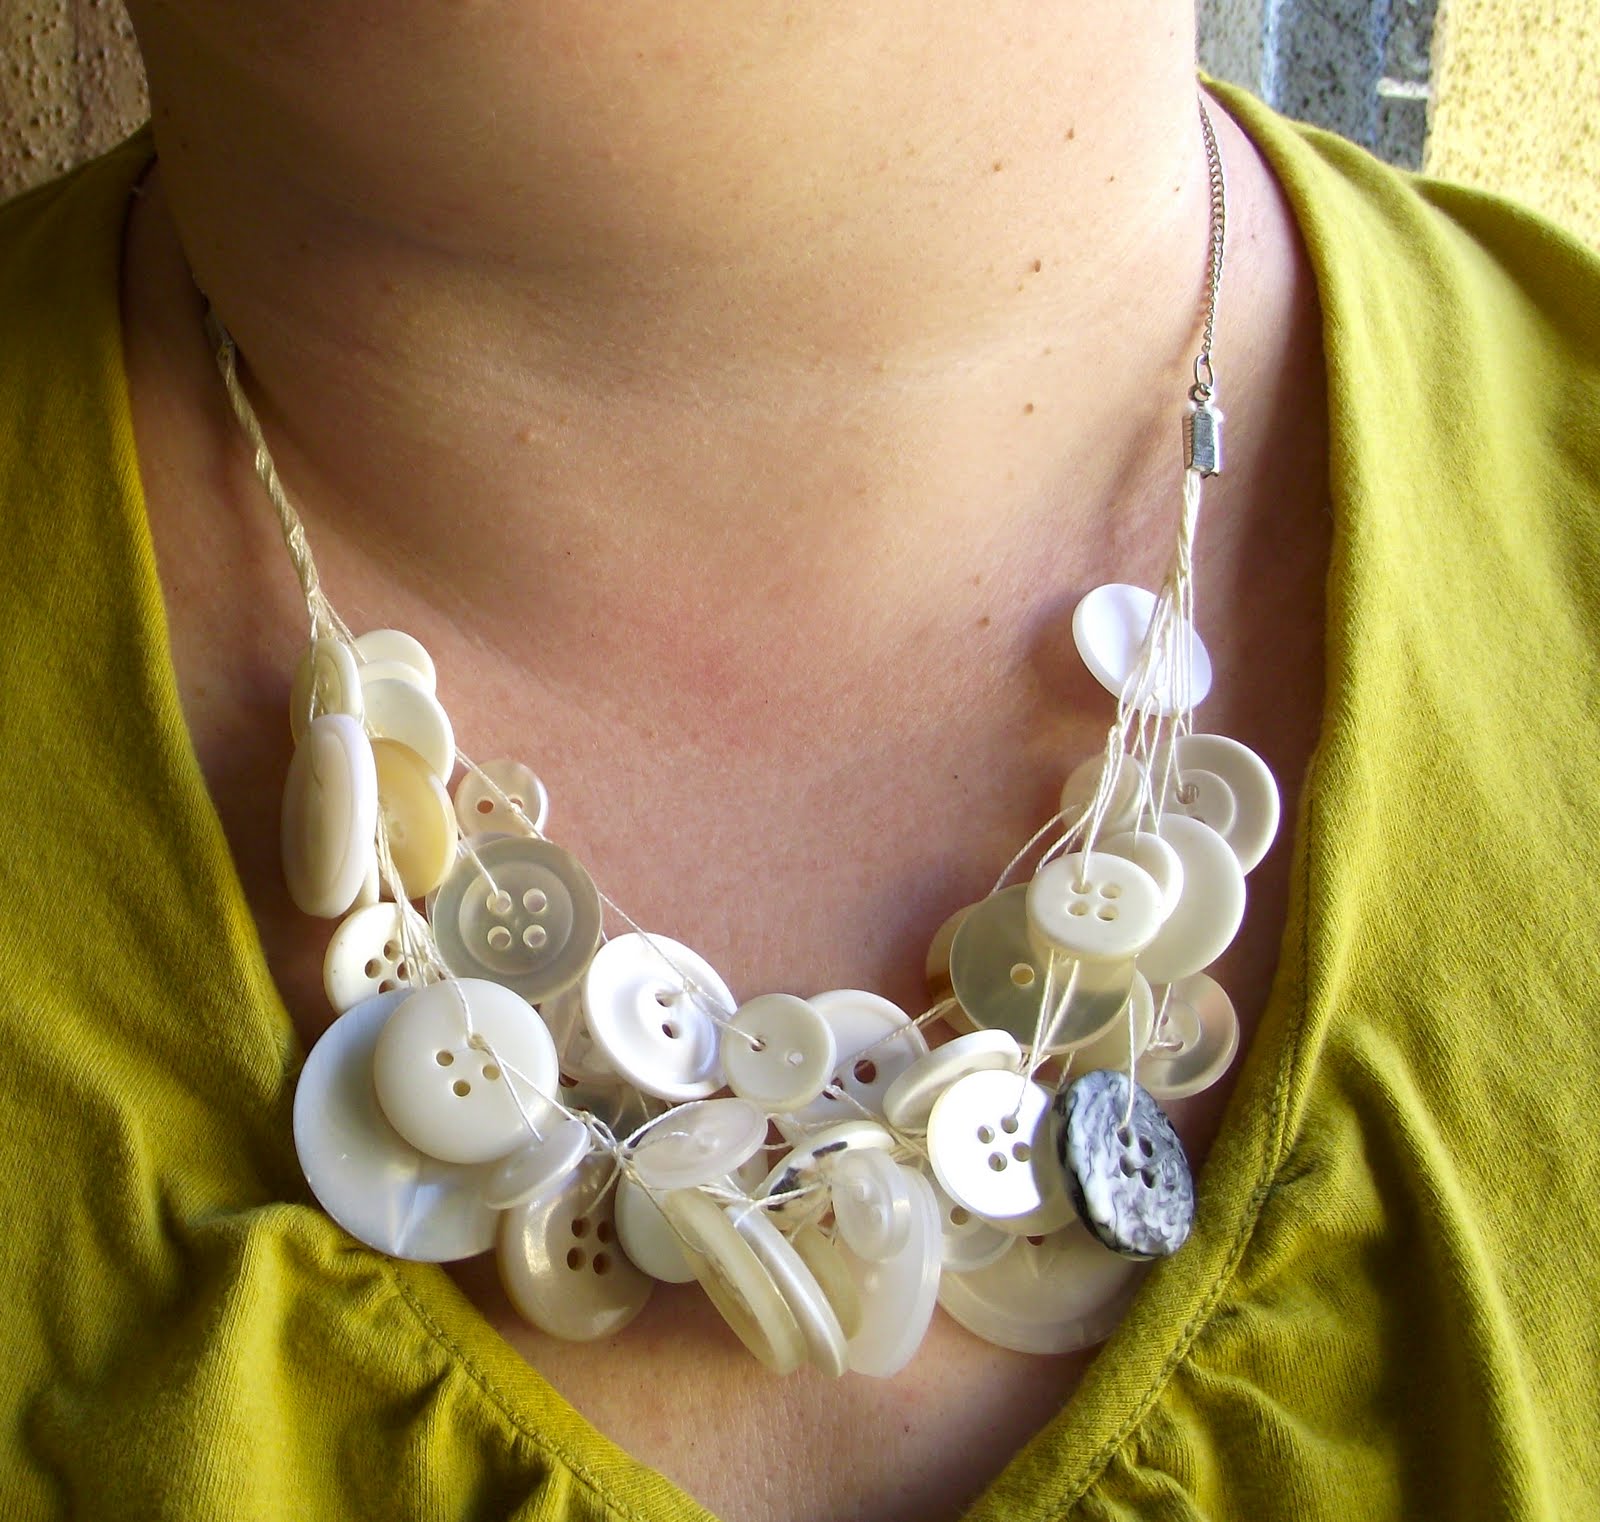
My friends Jan and Lisa came over this weekend to do a little crafting and a little--okay, a lot--of eating.
 |
| My finished found object bracelet. |
Lisa was intrigued by a project she had seen in an old copy of Martha Stewart Living. Turns out, you can also find this project online. It’s called the Curios Cluster Necklace. We decided to use this as our inspiration and do our own found object bracelet. I thought I'd share with you how we went about it.
 |
| Another view. |
Materials List· Beads, buttons, charms, sequins, found objects, etc.
· Felt or other backing
· Nymo (beading thread), embroidery floss or other strong thread
· Beading needles
 |
| Jan and Lisa sorted through just some of my trinkets. |
We met at my house at 10:30 am. I’m the girl with all the craft supplies so it was natural to work at my place. See, I keep telling you, you have to hoard supplies so when inspiration strikes, you are ready for it! We started by picking out buttons (I had left them on the table from my recent post about buttons). Then I brought out the charms, random found objects, old diodes, sequins, beads, rhinestones, old gumball machine toys . . . whatever we could think of to put on our bracelets. Lisa brought some stuff to share, too.
 |
| Jan's tin of goodies. |
 |
| My trinkets. |
Of course, all that is hungry work so we needed to break for lunch before we passed out. We’re such delicate, little flowers. I had made my famous To Die For Mac & Cheese. Sharp white cheddar, parmesan, and asiago cheeses with a béchamel sauce . . . You’re likely to gain ten pounds just thinking about it. Lisa brought a wonderful salad to accompany it.
 |
| Lunch. |
A good long nap was called for after that meal, but time was a-wasting so we got right into the sewing. We started by cutting a base strip of felt for our bracelet slightly larger than what we wanted the finished size to be. We used a good quality felt, not the el cheapo felt squares you find at the craft stores. Then, using Nymo (a type of waxed beading thread), we started sewing our stuff to our bases. Could you use regular thread or embroidery floss? Absolutely, but the Nymo is strong and it's waxed so glides nicely through everything. It might be worth looking into. Tip: when you tie off on the back, leave a slightly longer tail than you normally would. This will help the waxed thread from working loose.
 |
| My bracelet at the beginning stages; adding the largest objects first. |
I started with the largest items then began to fill in with smaller pieces. There is no technique to this, just sew the stuff down where you want it. There were a couple of pieces I glued down, as well as sewing them. They were dangly and annoying so a little dab of glue (I used E6000) on the back kept them in place. I sewed stuff right to the very edge of the felt backing.
 |
| My bracelet at the end of the day. |
Lisa had a good idea. She used a tray with a towel in it to keep her trinkets organized. Nothing rolled around or got out of hand that way. It worked well.
 |
| Lisa's good idea: a tray with a towel on it kept everything tidy. |
Did I mention dessert? Jan brought Arizona Sunshine Pie (lemon pie) for dessert which we ate while we sewed. Yum! She also brought Kahlua balls (like rum balls, only with Kahlua) for good measure, just in case we were still hungry.
You do need to make a closure for your bracelet. Sew a larger button on one end; this can be one of your embellishments. Using embroidery floss or ribbon, create a loop at the other end. There are several different ways you could do this. I used a loop of wide silk ribbon then sewed the ends down on the underside of the piece.
 |
| Here's the ribbon closure in process. |
 |
| Here's the finished closure. |
Once you have everything sewn in place, add a backing to your bracelet. Cut a piece of felt the same size as the front. Using a matching thread or floss, whip stitch around all four edges.It was fun to do this in a group to see the different results we got. None of our bracelets were remotely similar, yet each was very cool. Another good reason to do it in a group would be to share/swap supplies (in case you’re not like me and don’t have enough junk yourself to make about a million of these things).
 |
| Jan's bracelet at the end of the night... not quite finished. |
 |
| Lisa's bracelet at the end of the night... also not quite finished. Lisa used a piece of ribbon behind her trinkets so she doesn't have to fill in with beads. Another smart idea. |
The time just flew by as we talked and laughed and sewed. Before we knew it, it was 8pm! None of us finished that day. This is not a project you can do in a hurry. In all, I would say I put in about 15 hours. But the results are so worth the effort!
 |
| One last look... I just love it! |
Do you craft with your friends? Do you get together and work on a single project like we did, or do you all do your own thing? I find it inspiring to work when there are other creative people around me. Do you?
 Pin It