
1 Day Left Until Christmas!
 |
| My SIL's present wrapped in homemade marbleized paper. |
I had seen marbleized paper made before, but this was the first time I've done it. It was so easy! What a great way to get your kids involved in wrapping the Christmas presents!
I came across this idea in the 1973 book "Creating with Tissue Paper" by Barbara B. Stephan.

Her instructions were for a version using turpentine, oil-based paints and water, but I remembered that there was a much more kid-friendly way to do this.
Materials Needed:
- Paper (I used that giant roll of paper you can get at IKEA for about $5)
- Foamy shaving cream (not the gel)
- Water based paints
- A large shallow pan or dish (I used a jelly roll-type cookie sheet)
- A spatula
- A straw
Step 1: Fill your pan with a thick layer of shaving cream. Smooth it into an even layer with the spatula
 |
| I lined my cookie sheet with foil, but this was a completely unnecessary step. |
 |
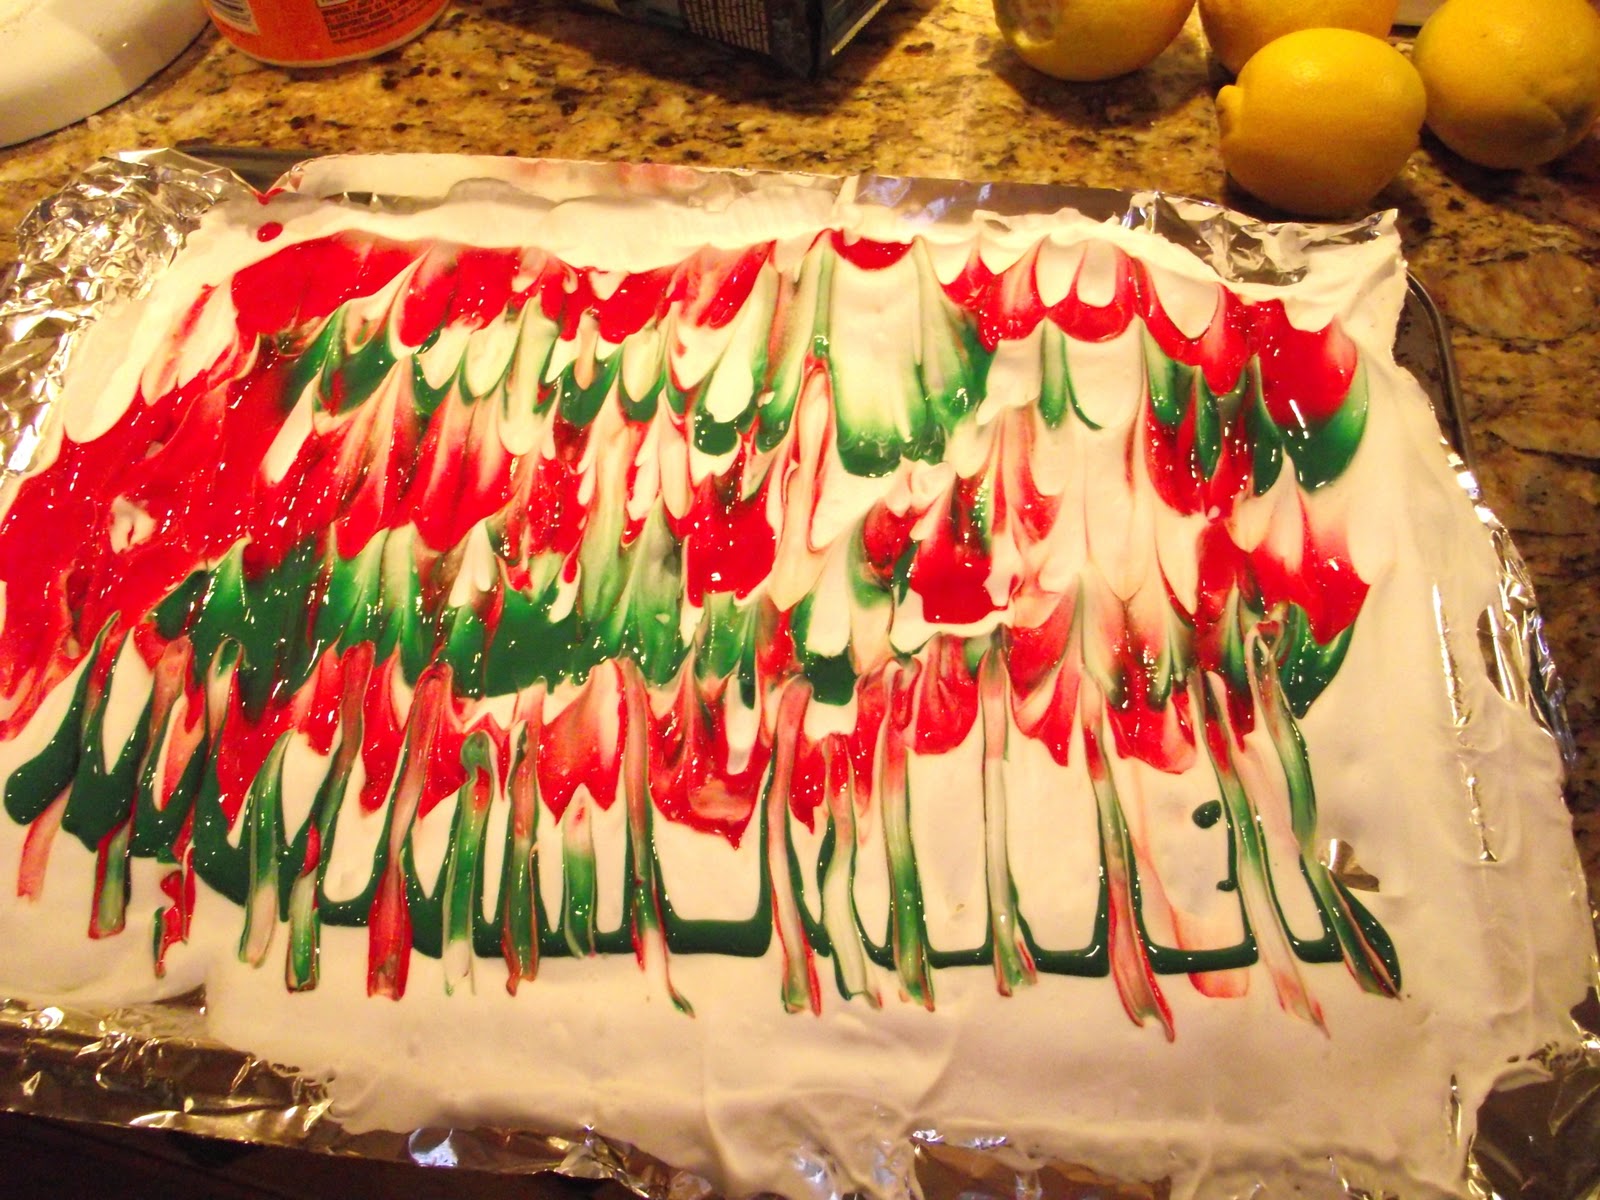
| Paint poured onto the surface of the shaving cream. |
 |
| I used a straw to drag the paint across the surface of the shaving cream to create the design. |
 |
| A sheet is laid on top of the shaving cream to form the imprint. |
 |
| The sheet right after it's been pulled off the shaving cream. |
 |
| Sheet after all the shaving cream has been scraped off. |
 |
| The same shaving cream ready for a second impression. |
Time to Complete: You can make a lot of marbleized paper in an hour.
Skill Level: If your kids are old enough to know not to eat the shaving cream, they can do this.
Go get out the shaving cream and get those presents wrapped! Christmas morning will be here in no time!
I hope you have enjoyed the Retro Craft Virtual Advent Calendar as much as I have. Sara and I have big plans for the coming year... more crafts, more tutorials, some giveaways, and, of course, our biweekly competition! Check back with us often.
Merry Christmas to all, and to all, good crafting!

Pin It
1 comment:
I think that would make such a fun project! Different every time and what fun to play with shaving cream!
Post a Comment